This is a problem for someone who loves to eat as much as I do--so today I tried two new recipes, for my friends who came over for a non-bookclub bookclub hangout time. Our regular bookclub took July off, and we aren't meeting until August, but this was a way we could all see each other and hang out.
I am proud of myself that I didn't eat the cookies that friends brought to share. I did have the mini tacos from Trader Joes, and far too much of this Sangria, but overall, I am very proud of myself--and when I wanted a snack, I air-popped some popcorn (4 Tablespoons of kernels in a brown paper lunch bag, in the microwave for 2 minutes), sprayed it with Pam w/olive oil, and added some ranch powder on top. My friends totally chowed that too!! :)
It was an awesome afternoon hanging out with amazing, professional, intelligent women. AND, not totally unhealthy. YAY!
Party-In-A-Pitcher Sangria
1 bottle red wine
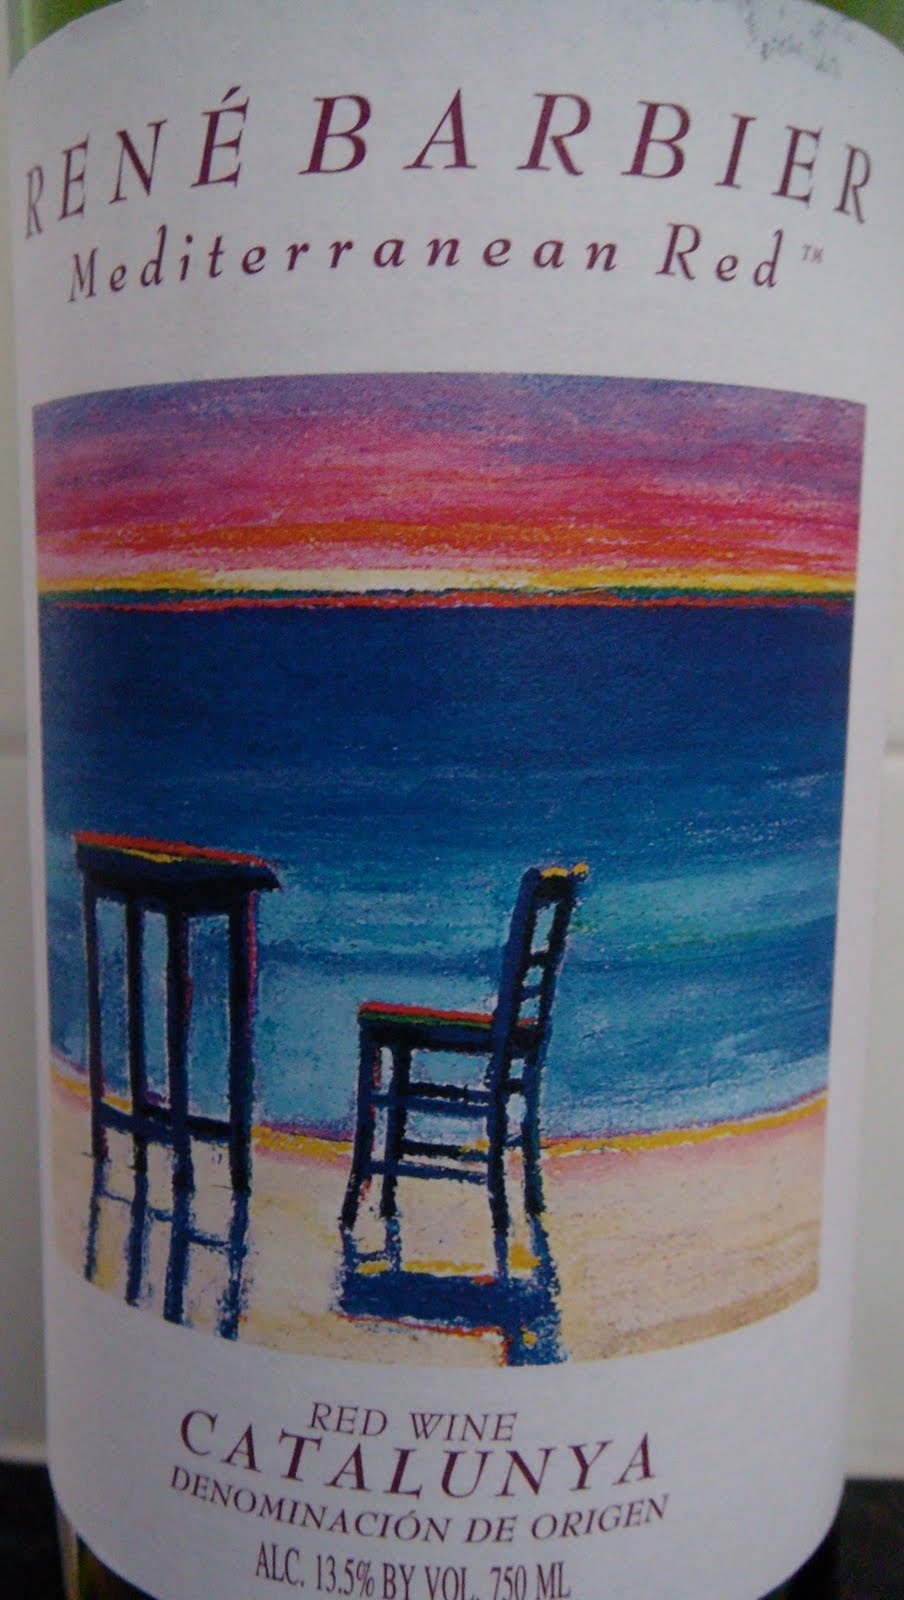 |
| The wine ($5 from Winco--probably NOT the greatest wine ever, but whatev) |
1 cup Diet Ocean Spray Cranberry Pomegranate (or another flavor of Diet Ocean Spray) (I used the generic light cranberry raspberry--less calories and less sugar AND less $!)
1 cup sliced strawberries
1 small orange, peeled and chopped
Half a Fuji apple, chopped (I used a nectarine instead)
Half a slightly under-ripe banana, peeled and chopped (Did not use--added about 8 grapes and 8 w/stem fresh bing cherries)
½ cup pineapple chunks (if canned, packed in juice) (I used a full can, juice and all--no sugar added juice)
*I will say that one could 1/2 the fruit amount and still have PLENTY of fruit. A good amount of delicious fruit went to waste--there was almost TOO much for the one bottle of wine.
Directions:
Place fruit in a large container that will not stain easily (like a glass pitcher or a high-quality plastic one). Cover fruit with wine and cranberry drink, and give mixture a good stir.
Cover and refrigerate for at least 10 hours. (It's TOTALLY worth it. Quit whining.)
Once ready to serve, add soda and give it a good stir. Pour and be sure to get a nice amount of fruit in each glass. Enjoy!
P.S. If you like your sangria with less alcohol per glass, add more of the cranberry drink until it tastes juuuuuust right.
 |
| The day before (made at about 3PM) (no soda added yet) |
Notes:
This sangria is CHOCK-FULL of fruit and deliciousness. Just don't underestimate the alcoholic intensity of fruit chunks that have been chilling in there for a while -- they're POTENT, people!
 |
| Serving--with the Diet 7Up added |
Nutritional notes:
PER SERVING (1 generous cup): 125 calories, 0g fat, 5mg sodium, 13g carbs, 1.5g fiber, 7g sugars, 0.5g protein -- POINTS® value 2*
**Please note that with my additions, the point value increased to 3 pts/serving**
This was UNBELIEVABLY good. It did not last long, and it wasn't too sweet, nor too strong. I added the soda as I poured individual glasses. The fruit, while strong, wasn't bitter or inedible--actually the fruit was awesome!
Bloomin' Onion (HG style)
For Onion:
1 jumbo sweet onion, not peeled
1 cup Fiber One bran cereal (original), ground to a breadcrumb-like consistency in a blender or food processor
½ cup fat-free liquid egg substitute (like Original Egg Beaters) (I used 1 egg white only)
¼ teaspoon seasoned salt (like the one by Lawry's)
¼ teaspoon garlic powder (I used more)
⅛ teaspoon black pepper
For Sauce:
3 tablespoons fat-free mayonnaise (Ok, I thought I had this, but I didn't. Therefore, I only let myself have one bit of the sauce.
2 teaspoons ketchup
⅛ teaspoon seasoned salt
dash chili powder
Directions:
Preheat oven to 400 degrees. Combine ground cereal with the seasoned salt, garlic powder, and pepper. Mix well and set aside.
 |
| Out of the oven |
Next, starting from the top, carefully cut the onion down and across the middle, stopping about a half-inch from the root. Repeat to make a criss-cross, cutting the onion down the middle again and stopping a half-inch from the bottom. You should now have 4 sections still attached at the bottom. Cut each of those sections down the middle (from the top), again stopping before you get to the root.
Place the onion, cut side up, in a large bowl, and cover completely with ice water. Allow to sit for 5 - 10 minutes, or until "petals" open up. (You can use your hands to gently help pry them open once they've been soaking for several minutes.) Remove the onion, and dry both the onion and the bowl.
Once both are dry, place the onion back in the bowl, with the petals up. Pour the egg substitute evenly over it, making sure to get in between all the petals (use your hands to separate them). Swirl egg substitute around so the bottom and sides of the onion get coated. Then flip the onion over to drain excess egg substitute. The entire surface of the onion should be covered lightly with egg substitute. Transfer onion to a separate, dry bowl. (You'll likely have about half the egg substitute left in the first bowl.)
Slowly sprinkle ground cereal mixture evenly over the onion, making sure to thoroughly coat each petal -- again, use your hands to separate them -- flipping the onion upside-down once you're almost done coating, so that the entire surface gets coated in crumbs. (If needed, spread a little more egg substitute on any dry spots to get the crumbs to stick.) Spray a baking dish with nonstick spray, and place the onion in it with the petals facing up.
Place dish in the oven and bake for about 40 minutes (until outside is crispy and inside is soft). Meanwhile, combine sauce ingredients. When onion is done, allow it to cool slightly. If you like, carefully cut out the center of the onion (so petals are easy to remove). Serve with sauce and enjoy!
Notes:
Here are some tips for you: (VERY helpful)
1. Give the onion plenty of time to open up while soaking in the water. The more it opens, the easier it'll be to fully coat all the "petals" with the breading.
2. Thoroughly dry the onion after soaking. If you don't, the excess water can prevent the egg substitute from sticking, which will prevent the Fiber One "crumbs" from sticking.
3. Here's a neat trick. Try using a basting brush (like the kind that comes with some grill tool kits) to coat the onion in egg substitute. The back of a spoon works as well. Just make sure all sides of all the petals are coated with the egg substitute -- otherwise the crumbs won't stick.
4. While applying the F1 crumbs, use your hands to separate the petals. The goal is to expose as much surface area as possible. Using a spoon to separate them is also helpful during this step. Just sprinkle the crumbs lightly over each and every petal while separating them.
5. Sometimes, while "faux-frying" at the HG HQ, if something isn't fully coated with crumbs, we'll dunk the partially coated item back into egg substitute (or in this case, pour more egg sub over the top), and repeat the coating process. Great little tip! And while we're on that subject, don't be afraid to dole out more egg substitute and crumbs than is called for -- you won't use it all, so it won't affect the nutritionals, but it'll make the whole coating process a bit easier.
6. Since ovens vary, you may need to bake your Bloomin' Blossom a little longer than the 40 minutes called for in the recipe. Continue to bake it until the outside is crispy and the inside is soft.
Nutritional notes:
MAKES 2 SERVINGS
Serving Size: half of recipe (including half of the sauce)
Calories: 192
Fat: 1.75g
Sodium: 700mg
Carbs: 54g
Fiber: 17g
Sugars: 13g
Protein: 7g
POINTS® value 3*
This was really tasty. I didn't rush through the process (BIG surprise--I have NO patience!), which really made a big difference. There were only a few bites left too!!
Thanks to Hungry Girl for these recipes!
No comments:
Post a Comment
I love when people comment!!! Good, bad, or even ugly--feel free to leave a comment and I will do my best to respond!